Introduction
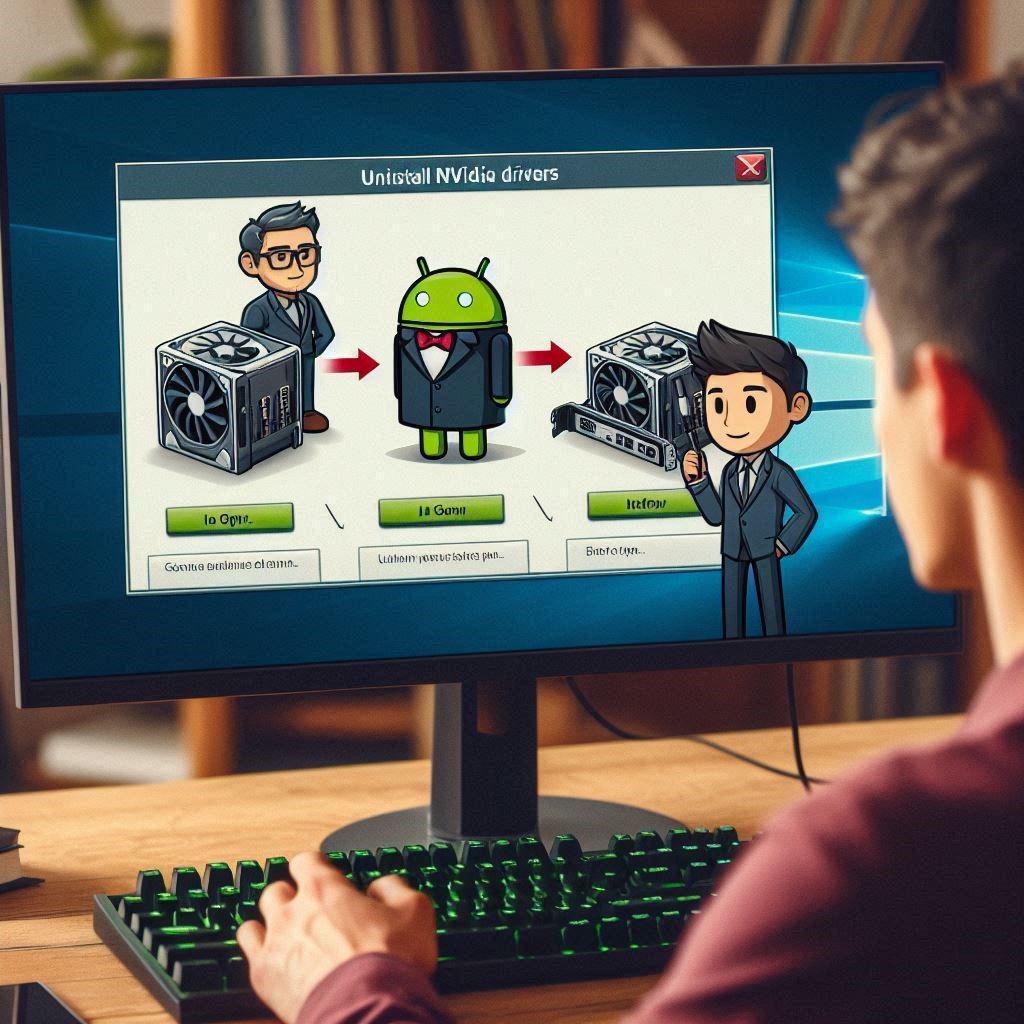
NVIDIA graphics drivers are vital for ensuring that your gaming and graphic-intensive applications run smoothly. They act as the bridge between your operating system and GPU, translating commands into stunning visuals. However, there are times when these drivers may need a fresh start. Perhaps you’re switching to a new version or troubleshooting an issue that’s been nagging you for too long. Whatever the reason, knowing how to uninstall NVIDIA drivers efficiently can save you time and frustration.
In this guide, we’ll walk through the quick steps to uninstall NVIDIA drivers without any hassle. Whether you’re a seasoned tech enthusiast or just someone looking to enhance their gaming experience, we’ve got you covered with easy-to-follow instructions and pro tips along the way!
Why Uninstall NVIDIA Drivers?
Uninstalling NVIDIA drivers can become necessary for several reasons. One primary reason is to troubleshoot performance issues. Outdated or corrupted drivers may lead to poor graphics quality, lagging games, or even crashes.
Another common scenario arises when upgrading your GPU. New hardware often requires the latest drivers to function optimally, making it crucial to remove old ones first.
In some cases, users may want a clean slate after experiencing system glitches. A fresh installation of drivers can resolve conflicts and improve overall stability.
Additionally, you might encounter compatibility problems with specific applications or games. Uninstalling the current driver could pave the way for a version more suited to your needs.
Knowing how and when to uninstall NVIDIA drivers helps ensure your gaming experience remains smooth and responsive without unnecessary interruptions.
Step-by-Step Guide for Uninstalling NVIDIA Drivers
To uninstall NVIDIA drivers, start by accessing the Control Panel. Click on “Programs,” then select “Programs and Features.” This will display a list of installed software.
Locate the NVIDIA driver in this list. It may be labeled as “NVIDIA Graphics Driver.” Once you find it, click on it and then hit the “Uninstall” button at the top of the window.
A prompt will appear asking for confirmation. Select “Yes” to proceed with uninstallation.
Follow any additional prompts from the NVIDIA Uninstaller that appears next. You might have options to perform a clean installation; make sure to choose this if available for optimal results.
After completion, restart your computer to finalize changes. Your system is now free from old drivers, paving the way for new installations or troubleshooting issues effectively.
Tips for a Smooth Uninstallation Process
Before you start the uninstallation, back up any important data. This helps prevent potential loss if something goes awry during the process.
Consider using Display Driver Uninstaller (DDU). It’s a popular tool for safely removing NVIDIA drivers without leftover files. This can lead to a cleaner system.
Ensure that you are in Safe Mode when uninstalling. Booting into this mode minimizes conflicts with other software and ensures a smoother experience.
Disconnect from the internet temporarily. This stops Windows from automatically reinstalling drivers while you’re trying to remove them.
Follow instructions carefully and take your time. Rushing through each step may result in errors or incomplete uninstallation, leading to more headaches later on.
Common Issues and How to Solve Them
Uninstalling NVIDIA drivers can sometimes lead to unexpected issues. One common problem users face is the failure of the uninstallation process, which may leave remnants behind. If you encounter this, try restarting your computer and attempting the uninstall again.
Another issue might be compatibility problems with older software after removing the drivers. To resolve this, ensure that all applications relying on GPU performance are updated before proceeding with driver changes.
If you experience display errors post-uninstallation, it’s wise to boot into Safe Mode. This allows for a cleaner removal of any problematic files preventing proper function.
If Windows fails to recognize your graphics card afterwards, reinstalling the latest version from NVIDIA’s website generally fixes this glitch quickly. Remember always to back up important data and create a restore point before making significant changes like driver uninstalls.
Benefits of Regularly Updating and Uninstalling NVIDIA Drivers
Keeping your NVIDIA drivers updated is essential for optimal performance. Regular updates often include enhancements that improve graphics quality and boost frame rates, especially in newer games.
Uninstalling outdated drivers can help resolve conflicts and glitches. Old drivers may cause crashes or performance issues, making it vital to remove them when necessary.
Another benefit of maintaining your driver status is compatibility. New software releases frequently demand up-to-date graphics solutions. By updating or uninstalling as needed, you ensure your system meets these demands efficiently.
Additionally, security vulnerabilities can arise from outdated drivers. By staying current, you protect your system from potential threats associated with unpatched software weaknesses.
A clean installation after uninstalling can refresh settings and configurations that might have become cluttered over time. This step helps restore peak gaming conditions while enhancing overall user experience.
Expert Tips: NVIDIA How to Uninstall Drivers for Optimal Performance
When tackling the task of uninstalling NVIDIA drivers, efficiency is key for optimal performance. Start by ensuring you have the latest version of any new drivers ready for installation afterward. This reduces downtime and helps maintain system stability.
Utilize Display Driver Uninstaller (DDU) for a thorough removal process. It goes beyond standard methods, erasing remnants that could lead to future conflicts.
Before beginning, create a restore point on your system. This safeguard allows you to revert should anything go awry during uninstallation.
Booting into Safe Mode can also enhance the effectiveness of your driver removal. It minimizes interference from running processes or background applications that might complicate the uninstallation procedure.
Always check NVIDIA’s official website after uninstalling to ensure you’re downloading compatible drivers tailored specifically for your GPU model and operating system version.

Conclusion: Troubleshooting 101: NVIDIA How to Uninstall Drivers Correctly
NVIDIA How to Uninstall Drivers. Uninstalling NVIDIA drivers doesn’t have to be a daunting task. With the right approach and understanding, you can do it quickly and efficiently. Remember that taking time to follow each step carefully will save you from potential headaches down the road.
If issues arise during your uninstallation, refer back to common problems discussed earlier. Often, solutions are straightforward once you know what symptoms to look for.
Regular updates or uninstallations of your drivers keep your system running smoothly and optimize performance—don’t neglect this important maintenance aspect! Staying proactive ensures that you’re maximizing both functionality and efficiency in gaming or graphic-intensive applications.
Keep these tips in mind as you navigate through driver management on your computer. Mastering how to uninstall NVIDIA drivers correctly is key not only for troubleshooting but also for maintaining an optimal user experience with your graphics card setup.


